
The Aadhaar Card is one of the important documents that every citizen in India must carry to prove their identity and avail the services offered by government agencies. Also read – DigiLocker now has over 100 million users: Aadhaar map is the most downloaded document The unique 12-digit number assigned by the Unique Identification Authority of India can be used for numerous purposes. However, cardholders must have correct details on the card in order to receive the benefits. UIDAI offers the possibility to correct Aadhaar map data online. A cardholder only has to follow a few steps in case a detail on their card goes wrong. Here’s a guide- Also Read – How to Link Aadhar Map to Pan Map How to correct Aadhaar Card details online – Visit the Aadhaar self-service update portal, you can open it in any web browser. Also read – How to link your Aadhaar card to your bank – Then log in with your Aadhaar number and OTP that you would receive on your registered mobile number. -Click on the “Update Aadhaar Online” option. -Then click on ‘Continue updating Aadhaar’. -On the following page, select the details you want to correct and click on ‘Proceed to update Aadhaar’. – You will then see the details that are currently on your Aadhaar card. Make the required changes in each detail dialog box. -Share the scanned copy of documents that can help proofreading. – You need to make a payment of Rs 50 online. You can pay for it by credit/debit card or net banking. Note that payment is non-refundable. -Once finished, you will receive a Service Request Number (SRN) for your reference. Save the number to track the update request or for future communication with the UIDAI Helpdesk. After completing the quality check process, you will receive an SMS notification with the registration ID. Ideally, requests last 30 days with 90 percent service standards.
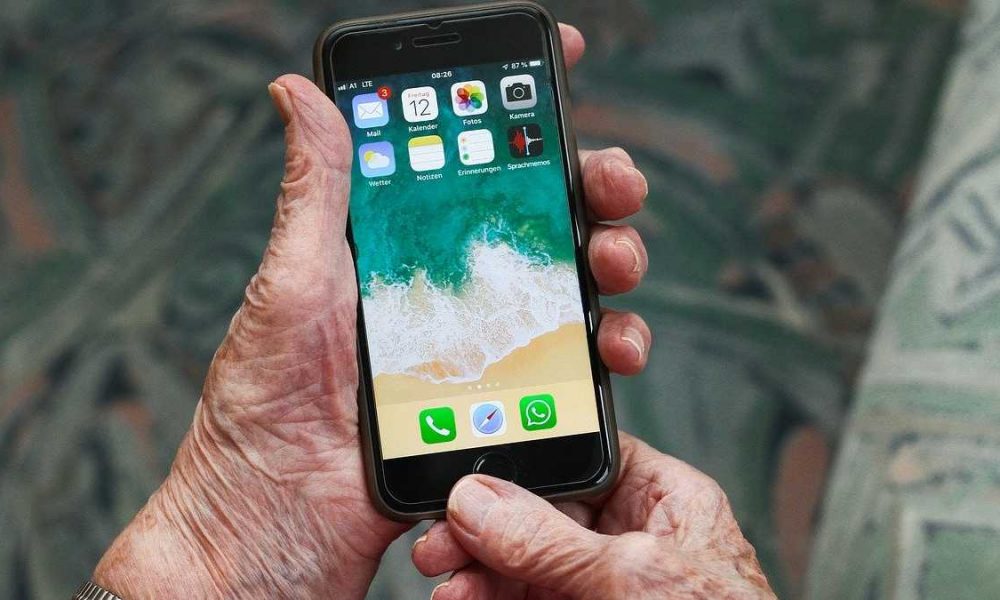
How to set a smartphone for elders: Follow these simple steps
Smartphones are getting confused and complicated with the technology that is advancing every year. Elderly people find it difficult to find important things like calls, address books (contact book) and text messages in Android smartphones. It is not easy for them to read alphabets on a small screen. The latest built-in apps make it difficult for older people to use smartphones. There are a few things you need to keep in mind when setting up a smartphone for your grandparents. Also Read – How to Use WhatsApp on PC, Laptop without Smartphone Also Read – Oppo K10 Launched in India at a Starting Price of Rs 14,990: Take a Closer Look How to set up a smartphone for your grandparents: Be sure to lock the screen Nowadays almost every smartphone has the possibility to lock it with a fingerprint. Try asking them to lock the phone when they open it with their fingerprint. With fingerprints, they don’t need to remember a password to unlock the phone. Also read – Nothing’s ‘The Truth’ event is happening today: How to watch the live stream, what to expect For Android phone screen lock, go to Settings, Security and then Screen lock option. To set up a screen lock on iPhone, you need to go to Settings, Face ID & Passcode or Touch ID & Passcode. Keep the home screen clean. Older people will have difficulties when there are more icons on the phone screen. To avoid this problem, you should only keep the apps that are useful to you on the home screen. Aside from their work, remove unnecessary apps from home screen. Simple and clean launcher The youth like to have different launchers on the phone, but the elderly do not need such fashionable launchers. So try to use the phone’s launcher or Google’s simple launcher to stay in it. This will not cause them any problems. Built-in voice command A senior often cannot dial a phone number or navigate through menus. Activating the built-in voice command comes as a savior. The function helps to easily use a smartphone.
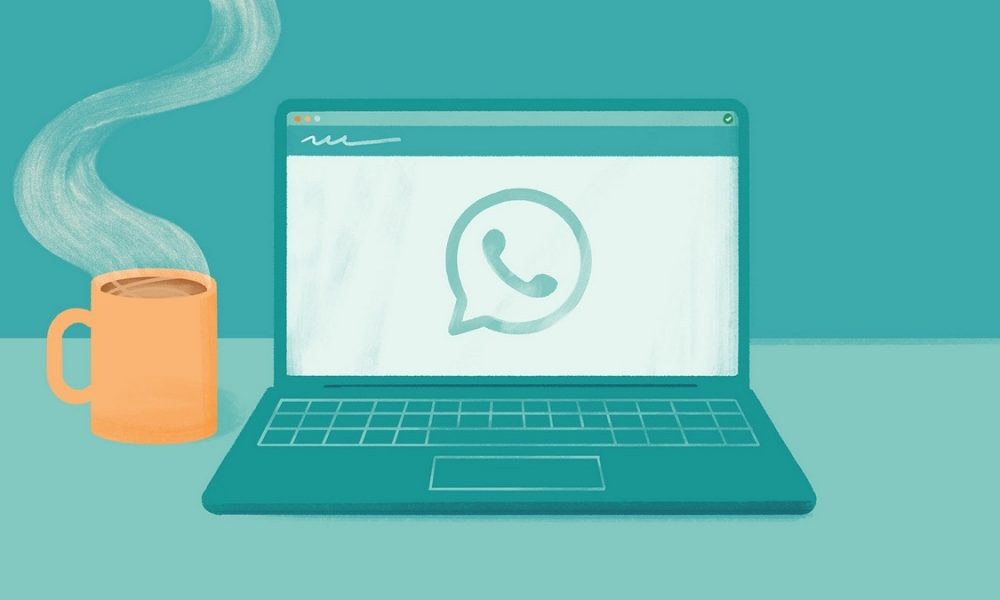
How to use WhatsApp on PC, laptop without smartphone
WhatsApp’s long-awaited multi-device support is finally rolling out to all users. The beta feature has now been released on both iOS and Android platforms. Also read: Qualcomm and Trimble bring more accurate location services to Android smartphones In layman’s terms, the feature allows users to use their WhatsApp account on multiple devices at the same time to send and receive messages on the cross-messaging platform. Note, however, that the linked devices will be disconnected if the phone remains inactive for two weeks. Also Read – WhatsApp Features to Watch Out For: Language Change, Message Reactions, and More “Your phone doesn’t need to stay online to use WhatsApp on linked devices, but if you don’t use your phone for more than 14 days, your linked devices will be disconnected. You still need to register your WhatsApp account and link new devices to your phone,” WhatsApp said on its FAQ page. Also Read – How to Check Live Train Status via Google Maps in Five Easy Steps The Meta-owned app also gave details of the unsupported features, including deleting or deleting chats on linked devices if your primary device is an iPhone or an older version of WhatsApp, using tablets, viewing live location on linked devices, create and view broadcast lists on linked devices, and end messages with link previews from WhatsApp Web. Here is a simple guide on how to link a device and use the multiple device support feature. How to use the multi-device support feature Android -Open WhatsApp account on your smartphone. -Tap on the three dots on the top right of the app and select the option “Linked Devices”. -Unlock your phone with biometric authentication or enter the PIN you set. -Open web.whatsapp.com or the WhatsApp desktop app on your PC or laptop. -Scan the QR code using your smartphone. iOS -Start WhatsApp account on your iPhone. – Go to Settings and select Linked Devices option. -Then follow the above steps. Once linked, WhatsApp can be accessed simultaneously on different devices to send and receive texts. Note that the feature allows the app to be used on up to four devices.
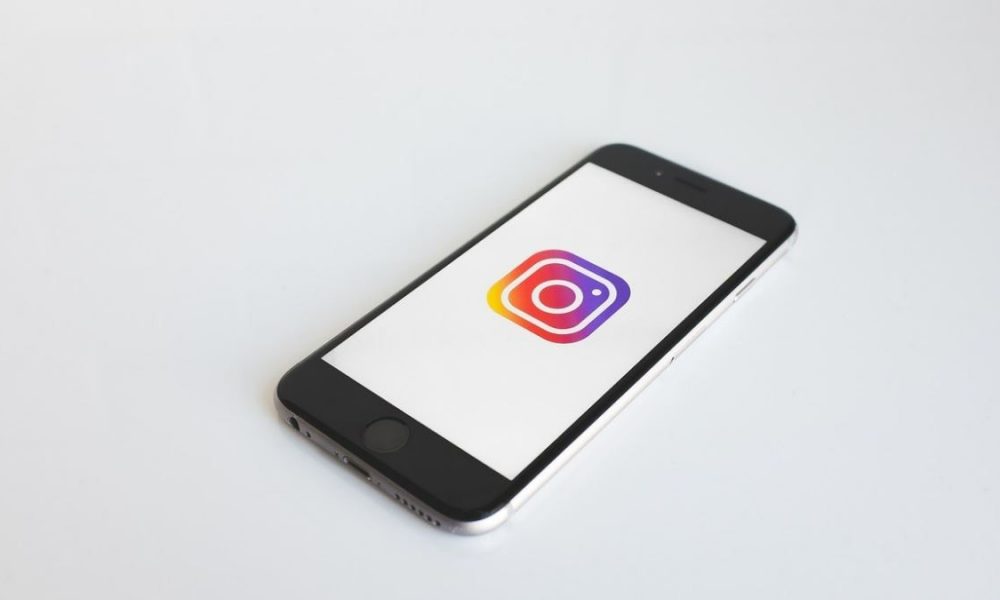
How to change chat theme in Instagram: Follow these simple steps
Meta Owned Instagram is one of the most popular online photo sharing apps used by millions of users worldwide. Here users can do many things to make their experience even better. Additionally, the app allows users to change chat theme and accent color on their Android phone or iPhone. If a user wants to change the chat theme and accent color, they should use the latest version of the app. Also read – Oppo K10, Oppo Enco Air 2 headphones launched in India at Rs 14,990 and Rs 2,499 respectively Speaking of classic white and night mode, this is the most used mode for Instagram DM. With this Instagram feature, one can easily change chat color and choose accent color for Instagram DM. Also Read – Microsoft Confirms Hacker Group Lapsus$ Breached Their Systems Currently, the app offers 15 themes and 21 color options for the message background. The theme you choose may look different when you switch the dark/light mode on your smartphone. Also Read – Free WiFi Facility Now Available at 6,100 Train Stations Across India How to change chat theme on Instagram: STEP 1: Go to Instagram home page. STEP 2: Here, click on the information icon on the top right of the screen. STEP 3: From the pop-down menu, choose Settings. STEP 4: Now select the topic of your choice by clicking on the Instagram chat’s “Topics” icon. STEP 5: Changing the topic of the chat will change it for everyone involved in the chat. STEP 6: When you chat with someone, a notification will also be sent to them to change the chat topic. STEP 7: For the chat theme color, you need to go to the menu on the top right of the screen. STEP 8: After clicking on Chat Settings, the Chat Theme icon will appear. STEP 9: Now click on Themes and select the color theme. STEP 10: It is important to note that if the message is blue during the chat, it belongs to the sender. However, the white and gray messages belong to the recipient.
Twitter now lets you create GIFs using your iPhone’s camera: How to use it
Twitter has launched a new feature on its platform that allows users to create and share a GIF right from the iPhone’s camera app. With this new feature, users of Twitter’s iOS-based apps can share short video clips on their timelines instead of sharing full-length videos. According to Twitter’s support account, now more than GIFs, iPhone users can share their animated images on the platform. Also read – Twitter is testing a new clipping tool with select Spaces hosts Creating and sharing GIFs with Twitter’s iPhone app is easy. Users just need to follow these simple steps: Also Read: Twitter Resets Tabbed Timeline Experience After Negative Feedback Step 1: Update the Twitter app on your iPhone.Step 2: Open Twitter on your iPhone and tap the Compose button to create a new tweet.Step 3: Now tap on the camera icon to record a video.Step 4: Next, choose the “GIF” option instead of selecting the “Photos” or “Video” options. This only appears if you have updated the app.Step 5: Create the GIFs and share them with your followers. Also read – New Apple products are here, as is the Twitter memefest Twitter also shared a post on their official support account to demonstrate how this feature works. Take a look: Ok, GIFs aren’t new, but what’s *new* is the option to record your own with the in-app camera on iOS. pic.twitter.com/3Hl6q78e6s — Twitter Support (@TwitterSupport) March 22, 2022 In particular, currently there seems to be no way to share the GIF made with this method on other social media platforms. The feature also lacks the ability for users to download the GIF to their iOS-enabled devices. Regarding the availability on Android, Twitter said in a reply to The Verge that it is collecting feedback for future updates. However, the company hasn’t given a timeline as to when the GIF functionality in the camera app will be available on Android smartphones. Remarkably, the update comes just days after Twitter reversed its decision to focus on algorithmic feed and move the chronological feed over. The update, which essentially made it harder for users to see their Twitter feed chronologically, rolled out to iOS first, with the change spilling over to Android and the web in the coming days. However, the company reversed its decision after significant user resistance. “We heard you – some of you always like to see the latest tweets first. We’ve reset the timeline and removed the tabbed experience for now while we evaluate other options,” the company wrote in a tweet announcing the change.
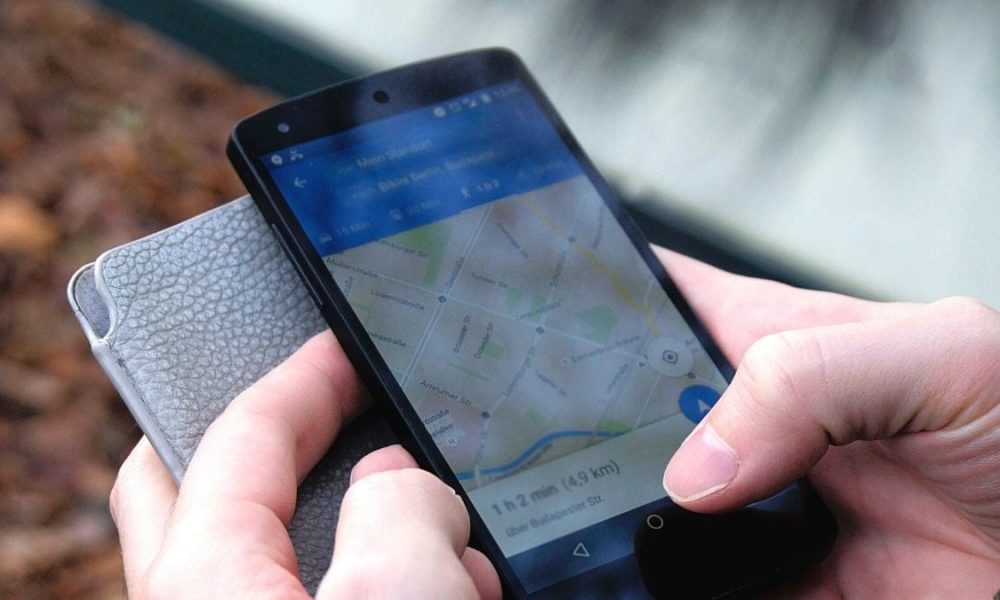
How to check live train status via Google Maps in five simple steps
Google added three public transit features to Google Maps in 2019. The features allowed users to check real-time long-distance train status, find bus travel time from traffic in ten cities, and suggest commute route showing auto-rickshaw and public transit. Also Read- How to Share Multiple Contacts on WhatsApp in Simple Steps Live train status is handy as it shows train arrival time, schedules, delay status and various other information from the app. While there are numerous third-party apps that offer similar functionality, this feature in Google Maps can be useful for Android users who are using budget devices with little storage space. As a reminder, the feature was implemented in partnership with the Where is My Train app, which Google acquired a year before the feature launched. Also Read – Android 13 Features Revealed: Background Effects, Media Controls and More In case you are wondering how to use this feature and check live train status with Google Maps, here is a guide you can follow: Also Read – Airtel, Vi, Jio Warn of 5G Phone Shortages in India: Here’s Why Before beginning the process, make sure you have an active Google account. How to Check Live Train Status via Google Maps -First open Google Maps on your smartphone. -Then enter the destination station in the search bar. – Next, tap on the train icon. – Then tap the “train” icon located between the “bicycle” and “walk” icons below the destination dialog box. -Tap on the route option with the train icon inside. – Then tap on train name to check live train status. In particular, these features allow users to see the entire route from the current location to the arrival station.
How to share multiple contacts on WhatsApp in simple steps
WhatsApp is one of the most widely used messaging platforms. Meta’s own cross-messaging app offers a wide range of features, from sharing photos, videos to comic gifs. Another benefit of using the app is that you can add a number of members from your contact list to the WhatsApp group chat. Also, you can transfer money instantly within the chat window. All of this can be used for free. Also Read – Android 13 Features Revealed: Background Effects, Media Controls and More WhatsApp also allows sharing contacts on your smartphone through the platform. If you want to share multiple contacts on WhatsApp from your Android or iOS smartphone, you can follow the steps below: Also Read – WhatsApp Introduces Multi-Device Support: How to Connect Up to Four Devices How to share multiple contacts on WhatsApp – First, open the WhatsApp account on your Android or iOS device. Also Read – WhatsApp’s Key Features: Voice Waveforms, Reaction Notifications, and More – Then tap on the individual or group chat where you want to share the contacts. -If you are using an Android phone, tap the paperclip icon in the notification panel. For iOS users, press the “+” icon at the bottom of the screen. – Then tap Contact in the menu. -You will see your contact list, select the contacts you want to share. -When you are done selecting, tap the Send button, the contact list will then be sent to the recipient. In this regard, WhatsApp is said to be working on a feature that will allow users to change the app language. WhatsApp Beta for Android v2.22.8.3 unveils this feature, which allows to manually select the system’s language. According to the report, the update will support over 60 languages and the user will be able to choose the “app language” in the settings.
Check how to link devices
WhatsApp has finally started rolling out multi-device support to all users. The feature has been in beta for quite some time. Now even users of the stable version of WhatsApp can use the app on multiple devices without having to rely on their primary smartphone. Also Read – WhatsApp’s Key Features: Voice Waveforms, Reaction Notifications, and More WhatsApp has announced that the new version of the app will be rolled out for WhatsApp web and desktop. With the new update, your primary device does not need to stay online to access the platform. Also Read – New Kashmir Files WhatsApp Scam Leads to Hacked Bank Accounts Availability WhatsApp has announced that the new feature will be available to all iOS users in March and to Android users in April. Also Read: WhatsApp’s New Voice Memos Feature Rolls Out for Some Users How will this new multi-device feature work? Each device connects to WhatsApp independently. This linkage is made possible while maintaining the same level of privacy and security through end-to-end encryption. The instant messaging platform has also acknowledged that some users are experiencing delays in loading messages securely on WhatsApp web and desktop. The messaging app is working to refine the experience. Some of the features will no longer be available on WhatsApp Web after the support rollout. These includeLink preview on WhatsApp Web, view live location on linked devices, better sync deleted chats between devices, broadcast lists, send and receive messages to your own number and sync sticker packs from your phone to your linked device. To link a device: Open WhatsApp Web or Desktop on the device you want to link. Android -Open WhatsApp on your phone.– Tap More options > Linked devices.– Tap LINK A DEVICE.-Unlock your phone:-If your device has biometric authentication, follow the on-screen instructions.-If you don’t have biometric authentication enabled, you will be prompted to enter the PIN you use to unlock your phone.-Point your phone at the screen of the device you want to link to scan the QR code. iPhone -Open WhatsApp on your phone.-Go to WhatsApp settings.– Tap on Connected devices.– Tap on Link device.– Unlock your phone if you are using iOS 14 or later (Use Touch ID or Face ID to unlock.)-Point your phone at the screen of the device you want to link to scan the QR code.

How to schedule a live video on Instagram: Follow these simple steps
The photo and video sharing app Instagram has added some valuable features over the past year to attract users, including Remix for Reels, shopping options, new stickers for Link, and the Last Year public thread. A similar feature is the Schedule Instagram Live Stream. The Schedule Instagram Live Video feature allows users or content creators to schedule their live streams between 1 hour and 90 days later. In addition, the reminder function is also included in the scheduling. Users will be reminded of the live broadcast 24 hours 15 minutes before the event. Also Read – Zomato Announces 10 Minute Delivery: Check How Fresh Grocery Can Be Delivered In 10 Minutes Also read – iQOO Z6 5G will go on sale today at 12:00 on Amazon: Check prices, sales offers, specifications STEP 1: First of all, you need to open the Instagram app. Also read – Realme GT Neo3 launches today: Here’s what we can expect STEP 2: Now swipe left to open the camera. STEP 3: Once the camera is open, swipe right from the bottom corner and select Live. STEP 4: An option called Schedule will appear on the right side of the screen. STEP 5: Select the schedule and enter the name of your event in the “Video Title”. STEP 6: Click Start Time and select a date and time for the day you want to hold the event in the coming days. STEP 7: Now click Schedule Live Video. STEP8: Users can also share this scheduled live performance as a post with their followers. STEP 9: A reminder will also be sent to the followers before the live starts. Scheduling Instagram’s live stream feature allows users to create curiosity among their followers. This gives them the opportunity to get better views. Followers can view the post, its description and live link. Besides scheduling, users can also post countdown stories to get as many followers as possible. The company has also introduced a feature called “Practice Mode”. The new feature allows creators to connect and interact with guests before they go live. This tool allows creators to check video quality and audio level before starting a broadcast.

How to use Messenger without an active Facebook account
Tired of the constant Facebook notification popups? Would you rather just chat with your people on Messenger than have unwanted advice on your social account? The meta’s own platform provides the scope, although you have to follow a series of steps to get through. Also Read – Facebook Bans People Who Haven’t Activated Facebook Protect: How to Activate It Facebook Messenger is one of the most widely used messaging services, and while it used to be possible to use it without a Facebook account, the social media platform has taken that liberty in 2019. The current situation requires having an account on the platform first in order to get the benefits from its custom messaging app. Also Read – Australia Sues Facebook Owner Meta Over Cryptocurrency Fraud Some people are moving away from the platform and in case you are one of them who don’t want to interact with the app but still want to use the messenger app, there is a small loophole that can get you through. Here is a simple guide to help you with that. Also Read – Meta Removes Deepfake Video Of Ukrainian President Zelensky: What Are Deepfakes, What Are They Used For? How to use Messenger without a Facebook account – First download the Facebook Messenger app from Google Play Store or Apple App Store. – After downloading and installing, tap Create new account. – A pop-up window will appear asking you to use details from Facebook.com to log in. Tap Next. – Next, a browser window will open asking you to create a new Facebook account. Enter the required details and tap Next on each tab until you reach the last point, then tap Register. – Make sure you use the first and last name you want to appear on your account. -Creating a Facebook account will automatically create a Messenger account for you to use on your device. – Your FB account details like profile picture and your name will also be displayed in your messenger account. -Once the Messenger account is created and active, you can deactivate your Facebook account. On desktop, simply open the menu, then click Settings, select your Facebook information, and then tap the Disable and Delete option. – Make sure you don’t select the permanently delete account option as it would detract from the luxury of using Messenger without interference from the parent app. Click Continue to Account Deactivation and enter your password. You must complete the survey to deactivate your Facebook account.